Rob Davidson - Maker
Knives From the
Texas Hill Country
Since 1978
830-798-7744
|
Rob Davidson - Maker Knives From the Since 1978 830-798-7744 |
|---|
|
Rocket Knives Tutorials
|
|
How-to Filework a
|

|
This page is created for those that have been wanting to know |
|
|
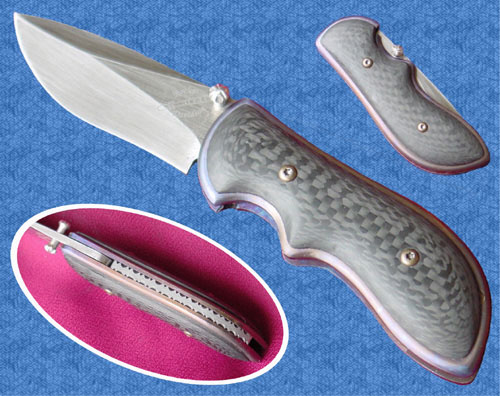
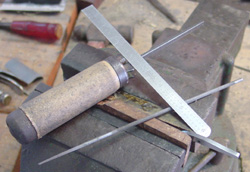
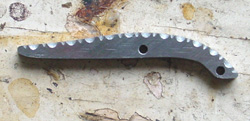
Above shows the finished filework done for this tutorial. |
|
Is there a certain tutorial that would be of interest? Please let us know . |
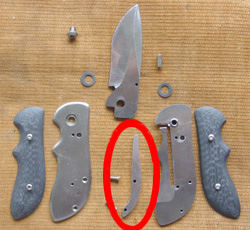 |
This shows all of the parts of this piece. The part circled in red is the part that will be fileworked. This part is called the buttspacer or backpiece. |
Here are the supplies needed to accomplish the task. |
 |
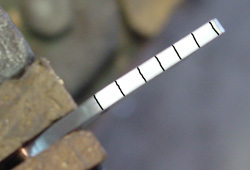 |
The buttspacer is locked-up in a vise |
| The initial "V" cuts are made with the 3-corner file and the backspacer is turned around on the other end of the vise. Marks are made 3/16" apart here as well. |
 |
 |
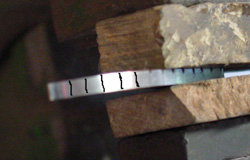
The "V" notches are cut in this end. |
| This is what the backspacer looks like when the filework is completed. This is a very basic pattern and really quite common. Very easy to do. |
 |
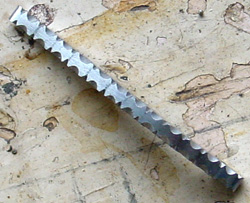 |
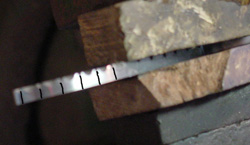
The same piece turned up on its' side to get an idea of what will be seen from the back of the finished piece. Marks are still on the backspacer. Slight sanding will remove these marks. The backspacer is made from stainless damascus steel and is etched after the piece is filed. |
|
|